How to Extend Wi-Fi: 8 Proven Ways to Boost Your Signal and Range
Extend your Wi-Fi network quickly and easily using these methods.
- Optimize your Wi-Fi signal by strategically placing your router in a central, open area away from obstructions such as walls and electronics.
- Keep your hardware up to date by regularly updating your router’s firmware and considering upgrades to ensure compatibility with faster internet speeds.
- Consider advanced solutions such as Wi-Fi extenders, access points, powerline adapters, and mesh network systems to address dead zones and expand coverage in large or irregularly shaped homes.
When your internet slows to a crawl, streaming, gaming, and even checking emails become frustrating. If you’re looking to boost your Wi-Fi signal and finally put an end to dead zones and lag, you don’t need to buy new equipment. A few simple adjustments can strengthen your connection, speed up your network, and extend coverage to every corner of your home. Before spending money on gadgets that promise better internet, try these proven methods to get your Wi-Fi performing at its best — and what to do next if you need to upgrade your setup.
Our Video on How to Extend Your Wi-Fi Network
If you don’t have time to read the article, check out our video:
Wi-Fi Diagnostic Checklist
A quick diagnostic can help you see if weak spots, interference or outdated settings are to blame for your connection issues. Follow these steps so you can get your best next steps for how to extend Wi-Fi in your home.
- Confirm the problem. Check if the issue is slow speed, dropped connections or no signal. Test multiple devices to ensure it’s not just the fault of one device.
- Restart equipment. Power cycle your modem and router (unplug for 30 seconds, then plug back in). See if the problem persists after a fresh connection.
- Run a speed test in different spots. Use a free tool like BroadbandNow’s Speed Test or Speedtest by Ookla and record speeds in various rooms and at different times of day.
- Map your signal strength. Use a free Wi-Fi analyzer app (NetSpot, Wi-Fi Analyzer or AirPort Utility) to visualize signal coverage. Walk through your home and note weak or dead zones (anything below -70 dBm is weak).
- Check for interference. Identify other networks using the same channel (apps like WiFi Analyzer can show you this.) Notice physical obstructions like thick walls, appliances or mirrors near your router.
- Test different bands. Connect to 2.4 GHz and then 5 GHz to see which performs better in each location. Wi-Fi Alliance, 2.4 GHz typically reaches up to approximately 150 feet indoors, while 5 GHz covers approximately 50 feet at optimal conditions.
- Document your findings. Create a simple table with location, speed, signal strength, band and time tested. This will help pinpoint where upgrades or adjustments are needed.
How to Extend Your Wi-Fi Signal
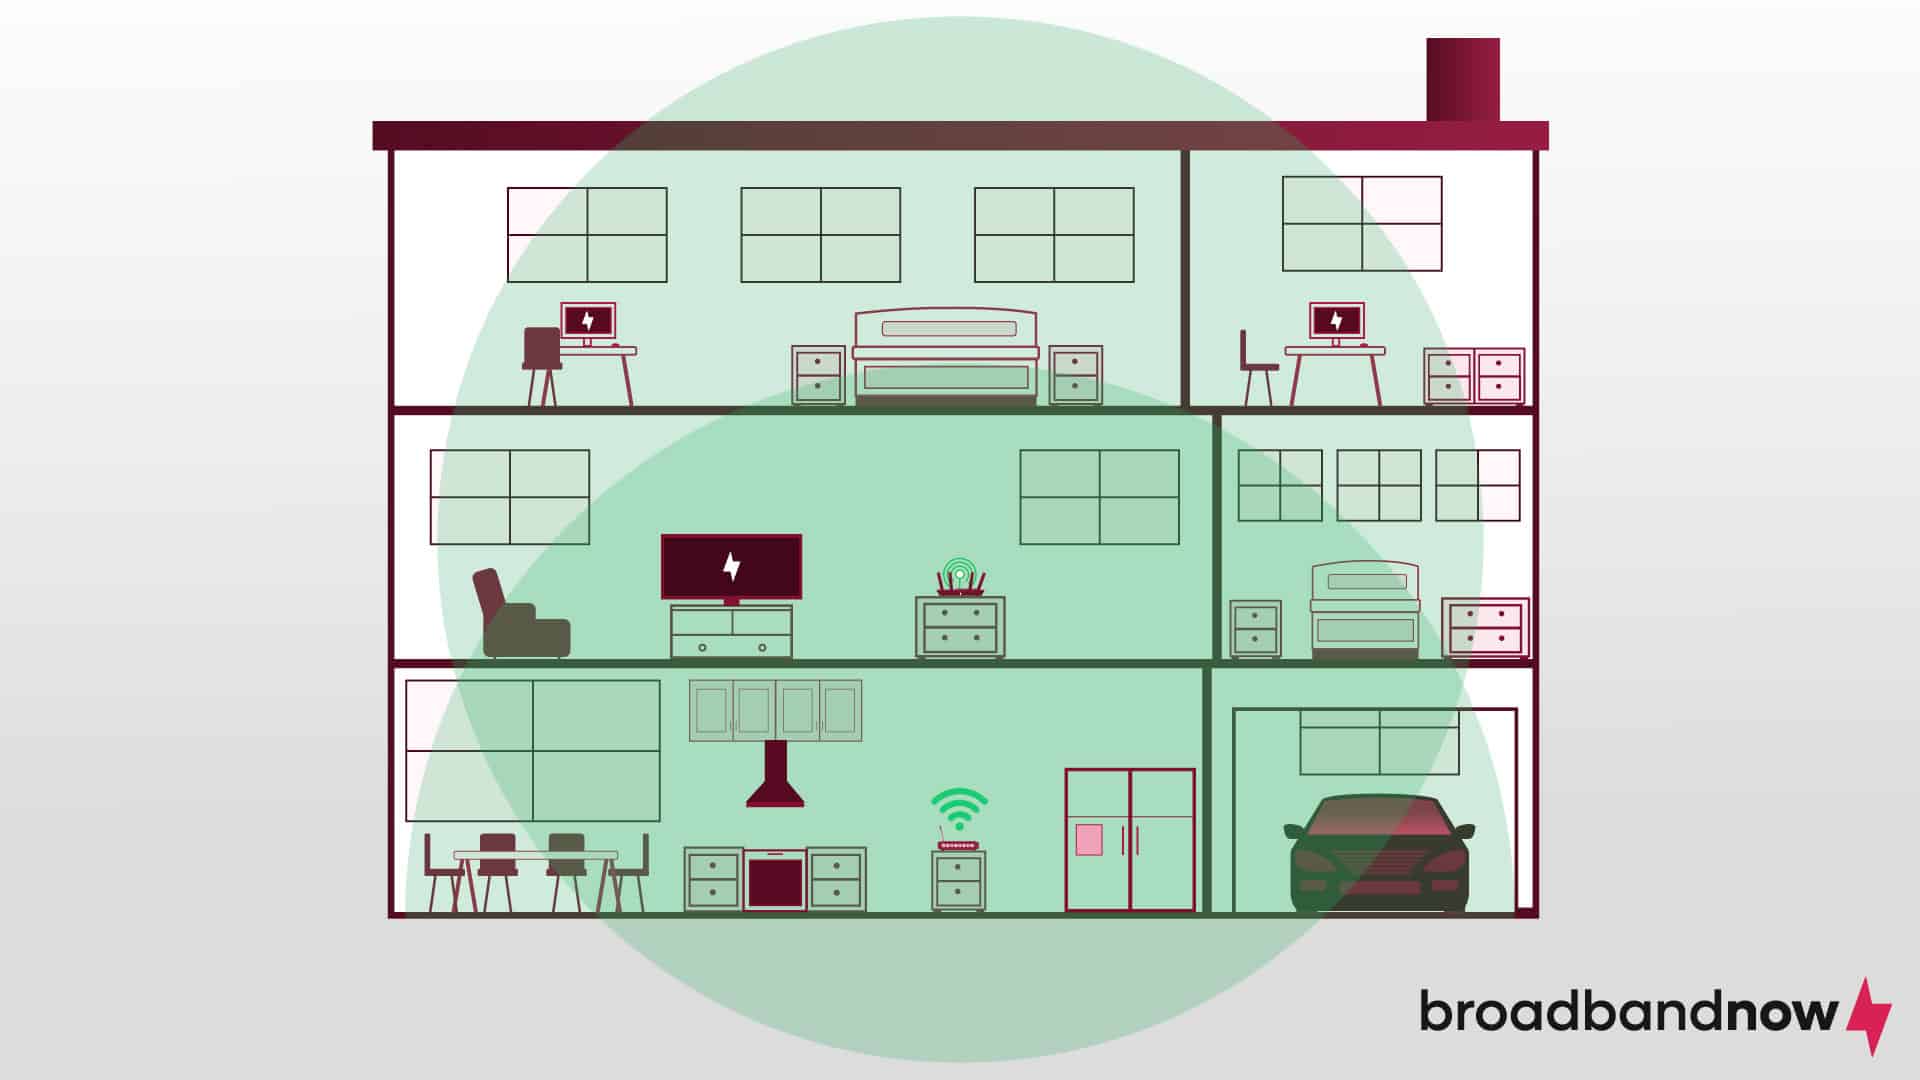
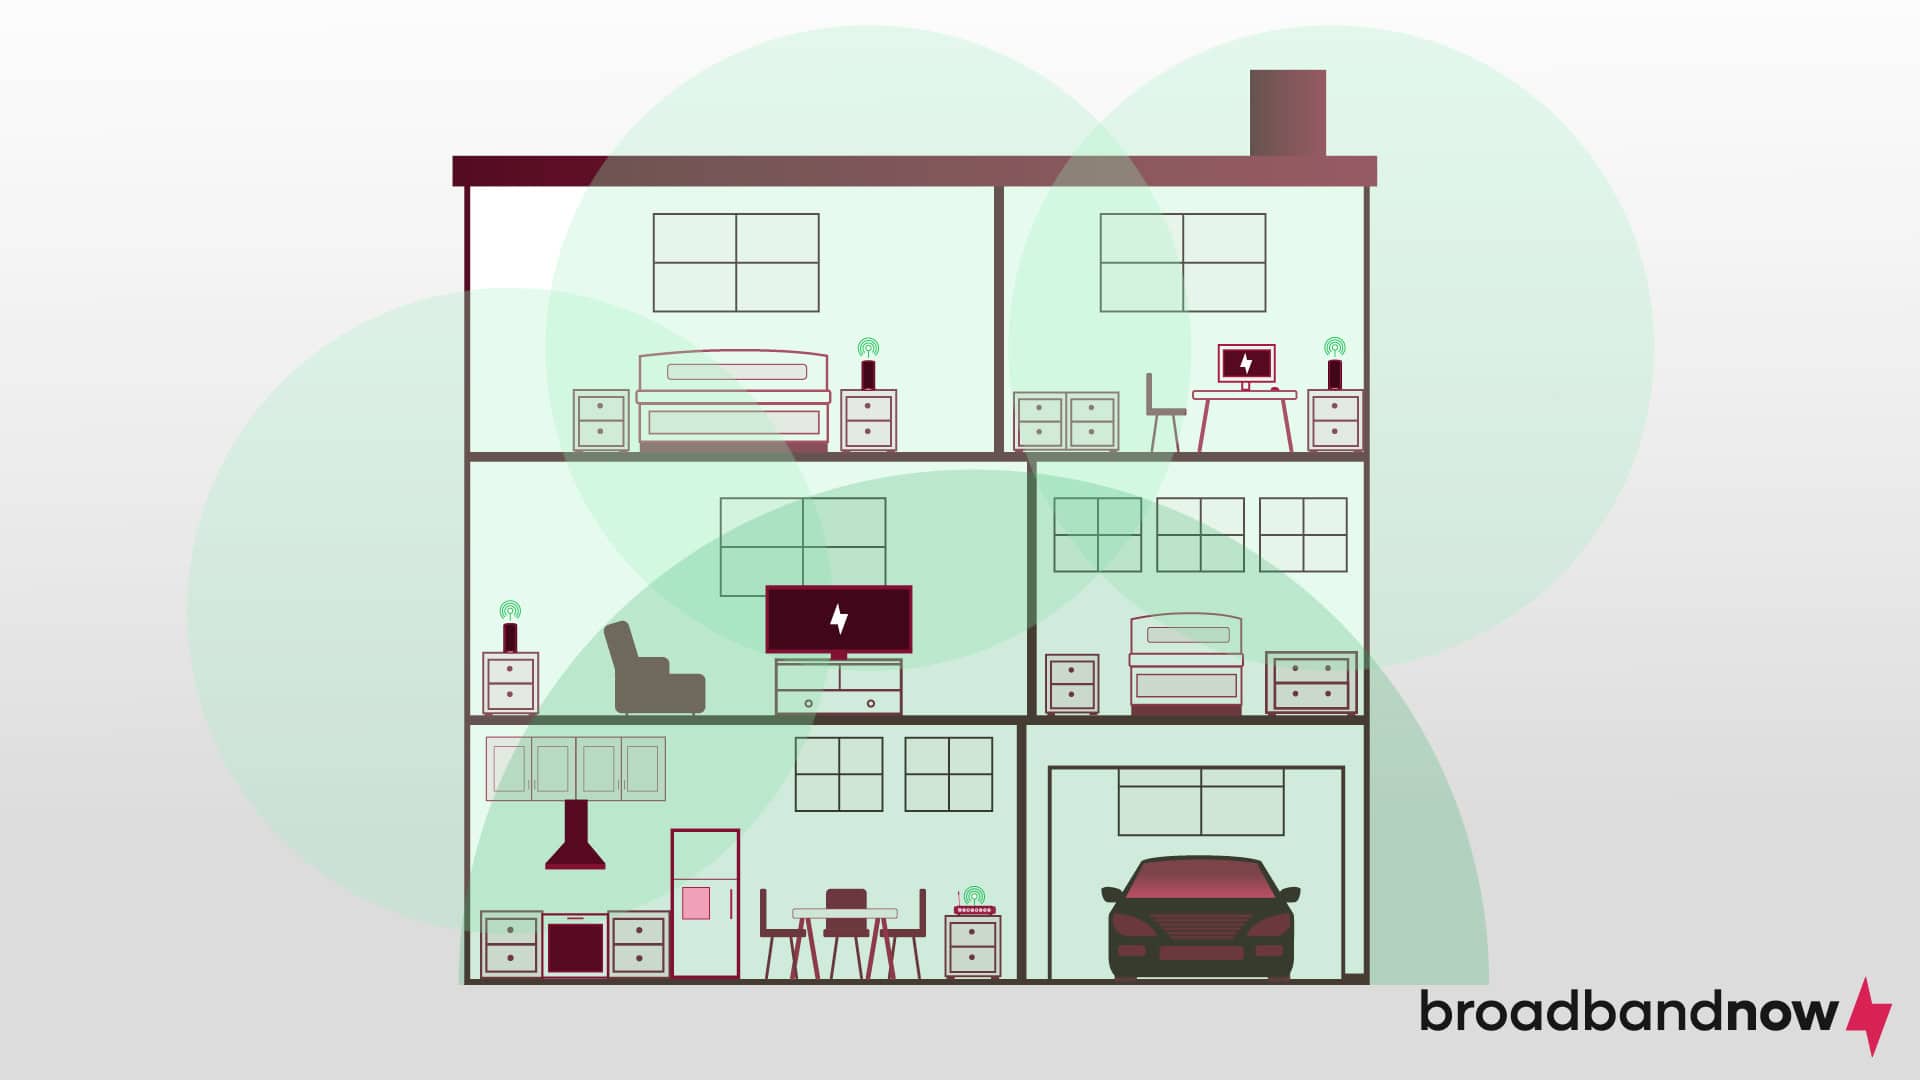
Signal issues can arise when trying to provide wireless coverage to your entire home. Some fixes are as simple as adjusting your current Wi-Fi network, and others may involve investing in equipment that boosts your Wi-Fi signal for a supercharged home network. Below are the eight methods we recommend for extending your Wi-Fi signal.
- Move Your Router’s Location
- Switch Wi-Fi Frequencies
- Update Your Router’s Firmware
- Replace Your Hardware
- Install a Wi-Fi Extender
- Configure a Wi-Fi Access Point
- Install Powerline Adapters
- Invest in a Mesh Network System
Move Your Router’s Location
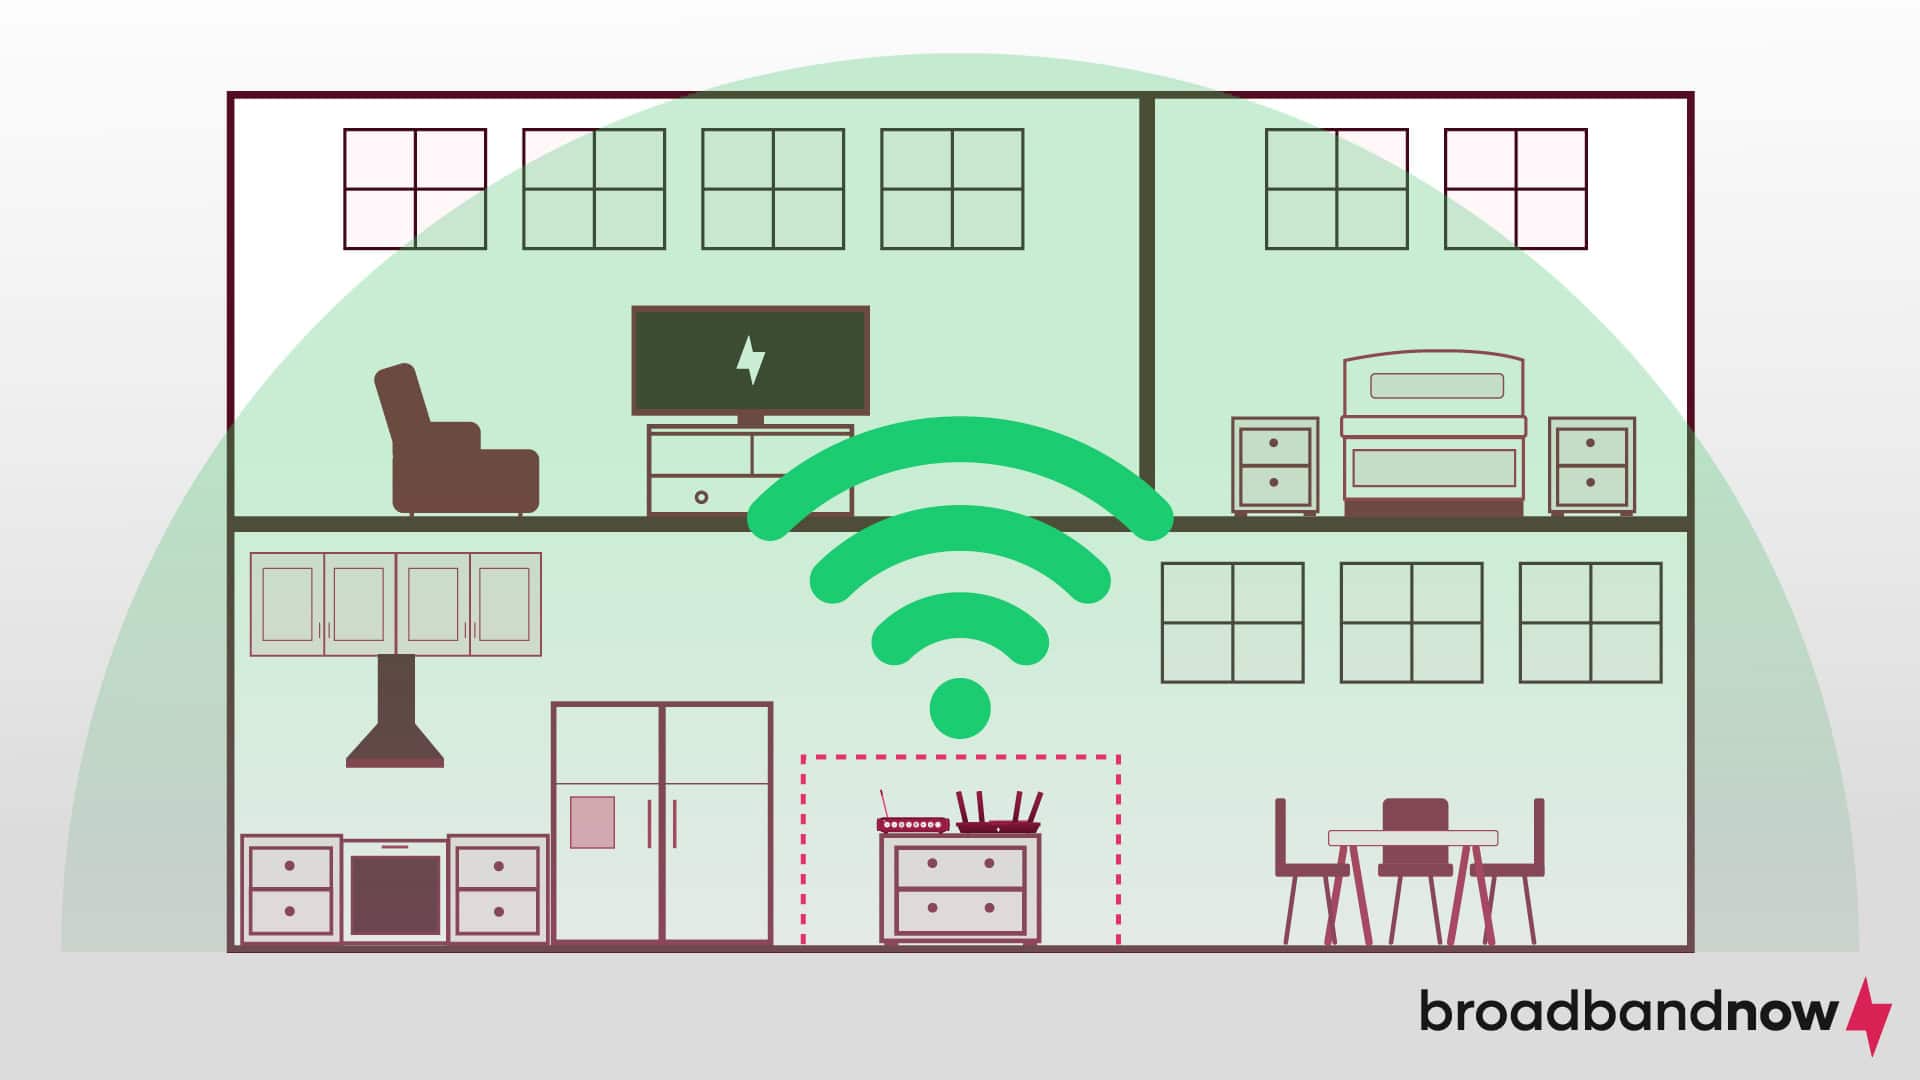
Your router is responsible for delivering Wi-Fi throughout your home. If anything is getting in the way of that signal, you can experience slow, frustrating speeds. The best router placement is in a central location in an open area off the floor. Storing a router in a cabinet, next to a wall or window, or near other electronics can prohibit the Wi-Fi signal from moving effortlessly to reach all areas of your home.
Moving your router is a great Wi-Fi troubleshooting practice that costs nothing because it can make a huge difference. Consider moving your router to a different location to see how it performs. If your living room is in a central spot within your home, this could work well. Or, your household needs better access upstairs, and you can place your router in an open hallway on the second floor. Test out multiple locations for a few days to a week to see which area provides the best Wi-Fi coverage for your home.
Switch Wi-Fi Frequencies
Most modern routers operate on both 2.4 GHz and 5 GHz frequencies. The 2.4 GHz band offers wider coverage, but it’s prone to interference from other devices, such as microwaves and cordless phones, as well as neighboring Wi-Fi networks. The 5 GHz band provides faster speeds and is less congested, making it ideal for high-bandwidth activities such as streaming and online gaming. Switch between the frequencies by accessing your router’s settings to optimize your Wi-Fi connection for better performance and reliability without costing you a dime.
Update Your Router’s Firmware
Updating your router’s firmware is crucial because it enhances performance, security, and compatibility with the latest networking standards. The free updates typically include bug fixes and optimizations that improve signal strength and connectivity, fine-tuning the router’s data traffic management for better distribution and reduced interference.
Firmware updates introduce new features and protocols to optimize signal transmission and address security vulnerabilities, ensuring network protection against potential threats that could compromise performance or signal integrity. Regularly update your router’s firmware in your router settings to maximize Wi-Fi signal strength and maintain a stable and secure network environment.
Replace Your Hardware
Wi-Fi routers operate on the Wi-Fi 6, Wi-Fi 6E, or Wi-Fi 7 standard that deliver faster speeds and better connectivity, but older Wi-Fi 5 routers may bottleneck your internet speeds. The Wi-Fi Alliance lauds Wi-Fi 6 (802.11ax) for delivering faster speeds, lower latency and greater capacity, enabling more devices to connect efficiently on the same network.
Having older hardware in your Wi-Fi network can lead to you not getting the full speeds you pay for from your ISP. Consider upgrading your router and modem for the best Wi-Fi performance. Sometimes your ISP will even send you a new modem if you’ve been a customer for an extended period. New Wi-Fi routers can range between $75–$250, depending on the model you choose. Just make sure it’s compatible with your ISP. If you rent or were given a router by your ISP, contact them to request an upgrade modem or router.
Install a Wi-Fi Extender
Installing a Wi-Fi extender can be a practical solution to enhance your Wi-Fi signal and expand coverage to areas of your home where the signal may be weak or nonexistent. Wi-Fi extenders, also known as repeaters, work by receiving the existing wireless signal from your router and retransmitting it outward, effectively amplifying the signal’s reach. That functionality is particularly useful in homes with multiple floors or rooms where the Wi-Fi signal struggles to reach due to architectural barriers or long distances from the router. Place extenders in areas you know lack strong Wi-Fi coverage to get the most out of your investment.
It’s important to note, however, that although Wi-Fi extenders can improve coverage, they come with some limitations. The effectiveness of an extender depends upon the strength of the original signal it receives. Extenders can only amplify the signal they receive, which means a weak input results in a weak output, leading to potential performance issues. Despite those considerations, a Wi-Fi extender remains a viable option for boosting Wi-Fi signal strength and extending coverage in homes with connectivity challenges. Wi-Fi extenders can cost between $60–$120.
Configure a Wi-Fi Access Point
A Wi-Fi access point functions similarly to an extender or repeater, providing a wireless connection outward to a new area of your home. The main difference is that an access point relies on a hardwired connection to your network rather than repeating an existing wireless signal. In almost any circumstance, it will result in dramatically improved performance over a more conventional wireless extender.
If you’re facing issues with your Wi-Fi reaching areas through drywall or outside your home, a Wi-Fi access point could be the right choice. Ranging between $100–$300, there are some requirements for using it. A wireless access point requires that you have an Ethernet port wired into the wall to plug into to feed back into your main home network. You can get around it by using a powerline adapter (more on that next), but that will only make things more expensive by adding in more hardware. They can often be more expensive than their wireless counterparts, making them less ideal for a quick fix. Even still, if you’re looking to deliver the best speeds consistently throughout your home, a dedicated access point is an excellent idea.
Install Powerline Adapters
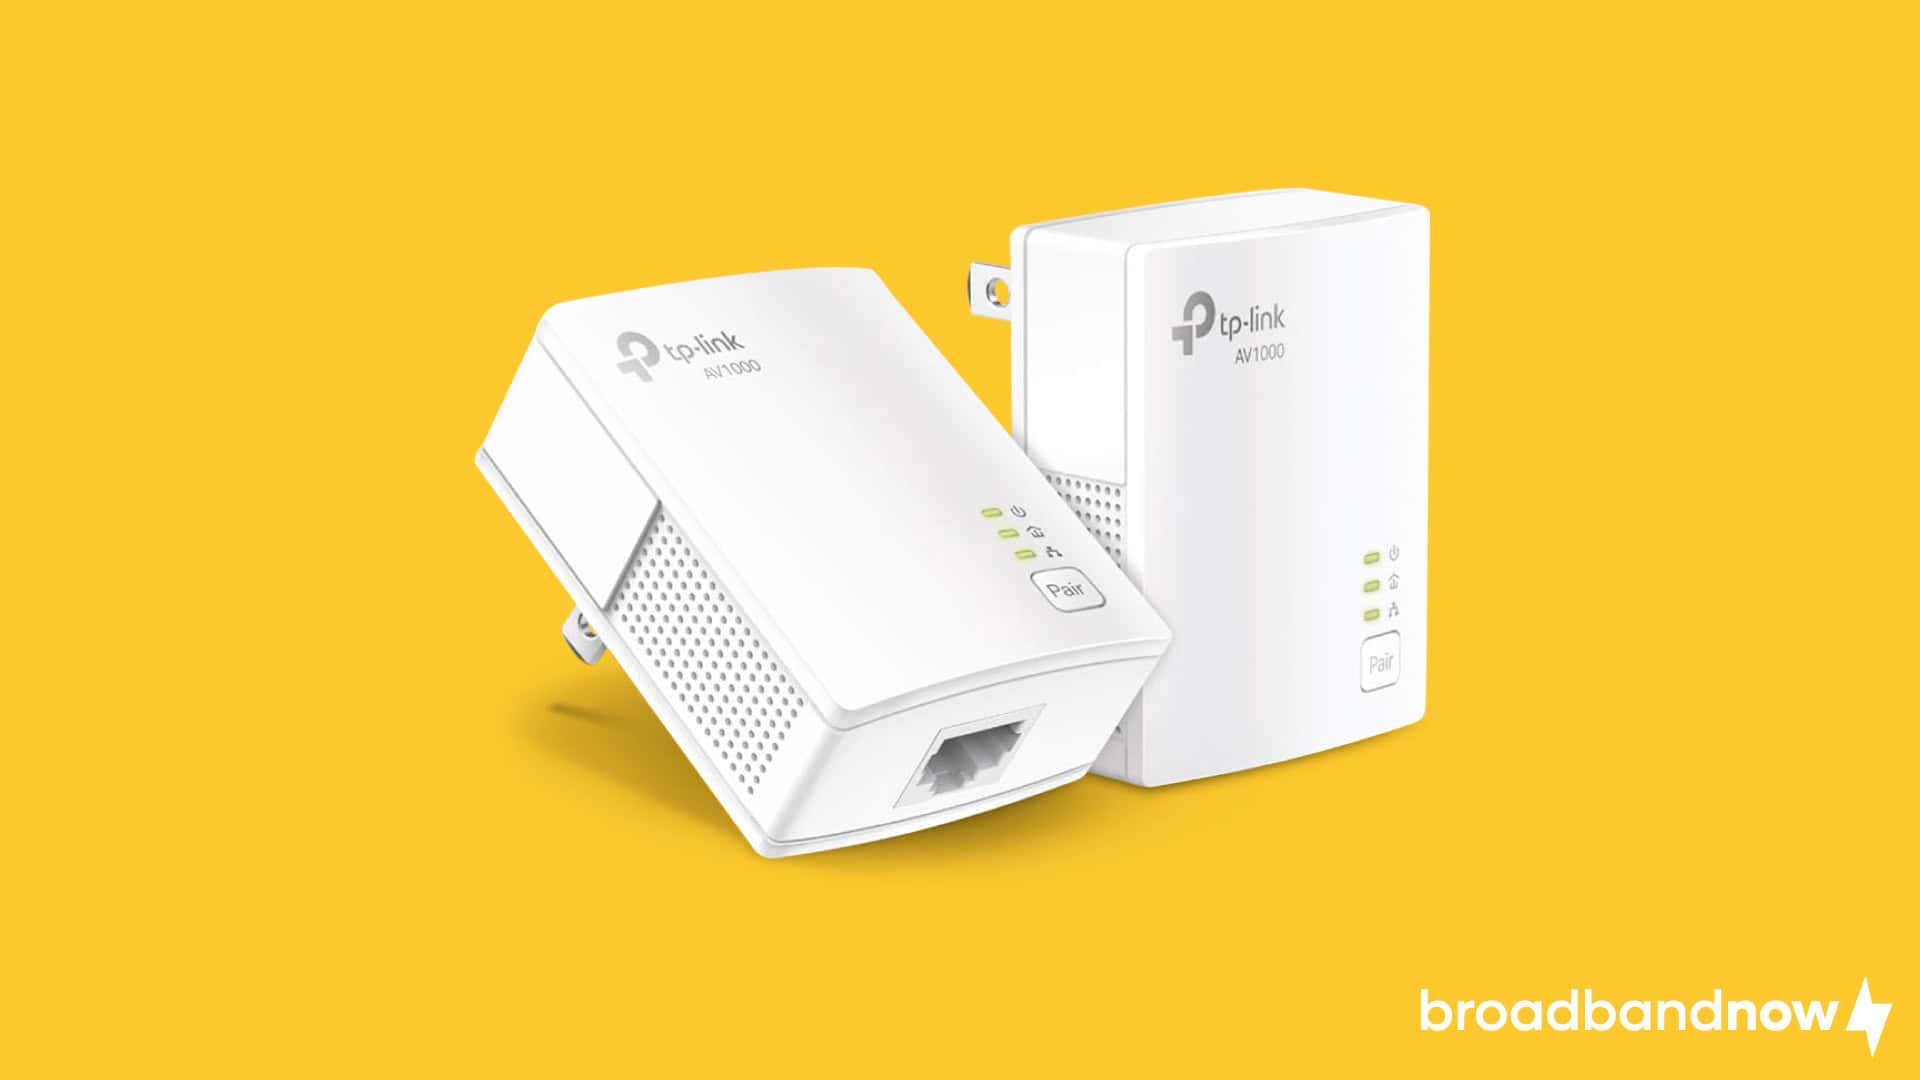
Powerline adapters are a convenient and budget-friendly solution for transmitting a wired Ethernet connection through standard power outlets in your home. This type of access point, which costs between $50–$120, offers high-speed internet access in areas where traditional wired connections are impractical or costly to install, particularly in homes with multiple floors.
Power adapters provide an effective means of establishing a hardwired connection, but they don’t inherently extend existing wireless networks. Instead, they enable Ethernet connectivity in rooms lacking Ethernet wiring, necessitating the use of additional devices such as repeaters or access points to enhance wireless coverage throughout your home.
Some newer powerline adapter models integrate built-in access points, offering extended functionality for an extra cost. It’s essential to note, however, that compatibility may vary depending on your home’s electrical wiring, since most powerline adapters require outlets to be on the same circuit for optimal performance. Powerline adapters efficiently bring wired internet access to various rooms, but their stand-alone usage typically won’t expand Wi-Fi coverage, and performance may be impacted in homes with older electrical systems.
Invest in a Mesh Network System
Mesh Wi-Fi systems operate as a series of interconnected access points strategically placed throughout a home to provide seamless internet coverage. This type of Wi-Fi home network is a great solution for homes with an irregular floor plan, multiple floors, or many dead zones. The networks function by distributing internet access across various nodes, similar to setups used in larger-scale deployments covering entire cities or even countries. They previously required considerable networking expertise to set up, but recent consumer-oriented products like Eero mesh networks have simplified the process, enabling effortless setup within minutes.
Their user-friendly setup is certainly a bonus, but mesh Wi-Fi network solutions tend to be the priciest option, often costing a few hundred dollars for a single system. They also may be excessive for users seeking to address minor connectivity issues, making them potentially unnecessary for people looking to patch up isolated network gaps. Mesh networks are worth the investment, ranging between $100–$600 depending on the model you choose. The systems offer unparalleled Wi-Fi extension capabilities and could be just the solution you’re looking for to extend your Wi-Fi network.
How To Extend Wi-Fi In Your Home with New Hardware
Trying to decide which hardware would suit your home’s needs? Use this comparison chart to find the best solution for extending Wi-Fi.
| Solution | Best for | Pros | Cons | Budget | Tech skills needed | Home size |
|---|---|---|---|---|---|---|
| Wi-Fi extender | Boosting signal in 1–2 weak spots | Affordable and easy setup that works with most routers | Can reduce speed and requires a separate network name on some models | $60–$120 | Low | Small to medium homes |
| Mesh Wi-Fi system | Seamless coverage across the entire home | Uses a single network name to deliver consistent speeds in homes with multiple floors | Can be expensive | $100–$600 | Low–medium | Medium to large homes |
| Wireless access point (WAP) | Adding wired-to-wireless coverage in targeted areas | Reliable connection that’s highly customizable | Required Ethernet wiring and a more complex setup | $100–$300 | Medium–high | Medium to very large homes |
Frequently Asked Questions About Extending Wi-Fi
How far away can a Wi-Fi extender be from the router?
The distance a Wi-Fi extender can be from the router largely depends on factors including the strength of the original signal, the quality of the extender, and potential obstructions such as walls or interference from other electronic devices. In optimal conditions, a Wi-Fi extender can typically operate effectively within a range of about 50 to 100 feet from the router. It’s essential to place the extender within a reasonable proximity to the router to ensure it receives a strong signal to amplify, since placing it too far away may result in a weaker connection and diminished performance.
How do I check my Wi-Fi signal strength?
To check your Wi-Fi signal strength, you can use a few methods depending on your device and operating system. On most smartphones, tablets, and laptops, you can typically find a Wi-Fi signal indicator in the status bar or network settings that displays signal strength as bars or a numerical value. You can also use a speed test to measure the speed you’re receiving at a specific location and compare it to your internet plan. Some routers also offer web-based interfaces where you can check signal strength and other network metrics.
What blocks Wi-Fi signals the most?
Furniture, water, and common building materials found in drywall and flooring are among the obstructions that block Wi-Fi signals. Materials such as concrete and brick absorb Wi-Fi signals, preventing them from reaching your devices. Similarly, water and even mirrors reflect Wi-Fi signals, reducing strength and reach.
Does my internet speed slow down when extending my Wi-Fi?
Wi-Fi extenders, mesh Wi-Fi systems, and other hardware forms of extending your Wi-Fi will diminish your signal and speed the farther away you are from your modem. If you don’t have a plan above 100 Mbps, you may experience noticeable drops in performance from farther distances. We recommend getting an internet plan with at least 200 Mbps of speed before purchasing these products.
What are the best free apps to test Wi-Fi signal?
Some of the most popular free Wi-Fi signal testing apps include Speedtest by Ookla, NetSpot, Ubiquiti WiFiman and WiFi Analyzer (Android). These tools help measure signal strength, speed and network quality so you can spot weak areas in your home or office. While most ISPs offer signal testing tools, using a third-party app will usually deliver more accurate results.
What’s the difference between boosting and extending Wi-Fi?
Boosting helps devices get a stronger connection where coverage already exists, while extending brings Wi-Fi to areas that previously had little or no signal. Boosting Wi-Fi improves what you have by upgrading your router, adjusting antenna placement, or using signal amplifiers. Extending Wi-Fi expands your network’s coverage area using hardware like range extenders, mesh systems or additional access points.