The Ultimate Guide to Troubleshooting Wi-Fi and Router Issues
Resolve Wi-Fi and router issues with this step-by-step guide to fixing common connectivity problems.

- A simple router restart can solve most Wi-Fi connection issues.
- Comparing your wired vs. wireless connection can indicate if you’re facing a Wi-Fi or internet issue.
- Devices are often at fault for a lack of Wi-Fi connection, making it easier to resolve.
Wi-Fi issues can often be easily resolved by rebooting your router. But when that doesn’t work, the fixes can become a bit more complex. Don’t worry, though. We’re here to help you diagnose the problem and work through the solution. Keep reading to find out what to do if your connection is causing headaches and how to troubleshoot Wi-Fi and router issues.
A Quick Fix for Wi-Fi Issues
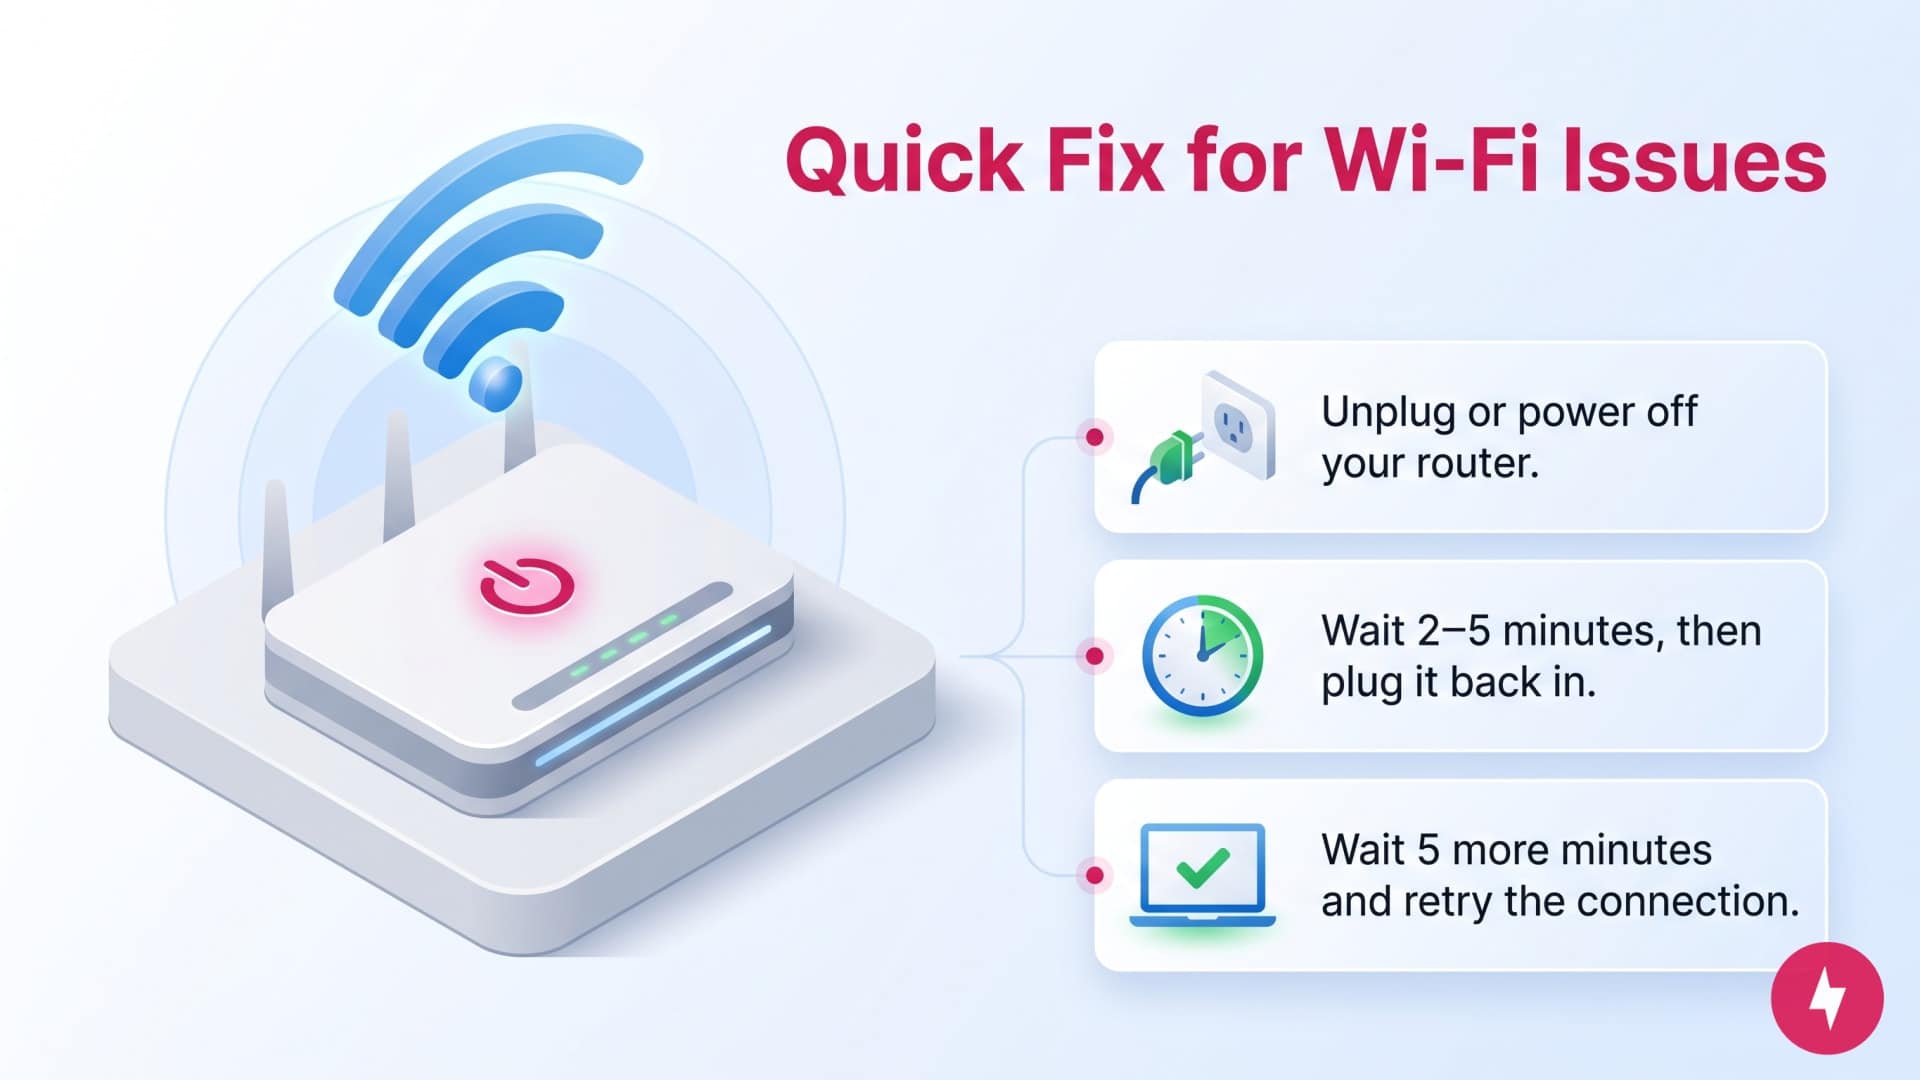
Before you dive into any troubleshooting tips below, your first step is to reboot (or restart) your Wi-Fi router. Here’s the process you’ll follow:
- Unplug or power off your router.
- Wait two to five minutes before plugging it back in.
- Wait five more minutes and retry the connection.
In most cases, this should fix your issue and allow you to get back online. However, if you follow these steps and something still isn’t working, it’s time to investigate.
Navigating Your Router

Understanding your router’s basics will be useful as you diagnose any issues. We’ll cover some general router guidelines, but to understand your specific device’s communication, refer to the user manual for a more detailed explanation. If you don’t have your manual or have no idea where it is, you can usually find a digital copy of your router’s manual online. Head to Google and type your device model number followed by “user manual.”
Router Icons
Most routers have a series of icons that are illuminated to convey different status messages at a glance. Though these can vary from brand to brand, most manufacturers include at least three primary status indicators:
- Globe: Solid when the modem is connected to the internet.
- Wi-Fi: Solid when Wi-Fi is broadcast with no issues.
- Ethernet connection: The Ethernet icon will light without blinking when Ethernet cables are connected and working properly. This icon can also look like an empty square or a box with a line striking through, depending on the Ethernet connection you’re using.
Router Lights
Router lights are commonly used to share connection messages as well. Again, these vary by manufacturer, but you can generally expect the following:
- Green: When everything is working properly, the icons are a solid or blinking green light. (Blue and white are also common colors). This signals a device is plugged in and functioning normally.
- Orange: An orange or amber light may indicate a problem or limited connectivity.
- Red: A red or unlit icon may signal there is no current connection.
How to Troubleshoot Wi-Fi

There are several reasons your Wi-Fi may be acting up, and resolving the issue depends on what’s happening. We’ve rounded up some of the most common issues to help you get your connection back up and running.
Slow Network Speeds
If you’re experiencing slow speeds, check if your Wi-Fi is at fault. Plug an Ethernet cable directly into your router and test your internet speeds using a speed test tool. Then test your speeds on the Wi-Fi connection. If they’re both slow, the issue is likely with your service provider and not your equipment.
If the hardwired connection is much faster than the wireless one, however, there may be more you can do to optimize your network. Wired connections will usually always be faster than wireless in some capacity, but the difference shouldn’t be so vast that your Wi-Fi is unusable.
First, try moving your router to a more central location in your home. If that’s not an option, it may be worth exploring how to extend your Wi-Fi connection to all areas of your home.
You might also be encountering interference from networks adjacent to yours. If you think this may be the case, you can try changing the channel your router is broadcasting on. You’ll want to use the 5 GHz band whenever possible, or, if your router supports it, the 6 GHz band. These tend to be less congested and better performing than the 2.4 GHz band.
No Internet Connection

When you don’t have an internet connection, you’ll perform a similar test to slow network speeds. Plug an Ethernet cable into your router and a desktop or laptop to see if you can get a signal. If you can’t, your access has been cut, and you should contact your ISP.
If you’re able to load web pages through a hardwired connection, there’s definitely something wrong with your Wi-Fi network. If restarting the router didn’t fix the issue, you may need to set it up again completely. Most routers have a small reset button that needs to be held down with a paperclip or other small object. Doing this will restore the device to factory settings, and you’ll be able to go through the first-time setup once again.
If you’ve been through this process and still can’t get connected, you’ll likely need to contact your ISP for help. You could have an unpaid balance that caused the company to suspend your account, or there might be an outage in your area.
Wi-Fi Network Disappeared
Can’t find your network to connect? Check where your router is positioned. If it’s somewhere cramped, such as behind a couch or in a closet, it might have overheated. Shut down your devices automatically to prevent any damage.
If you can move your router to a place with more airflow, you can solve the overheating issue. If you feel that your router is positioned in a good location and that overheating isn’t the problem, there are a few other things that could be happening.
For one, your network may have reset itself due to an update. Look at the default network name (usually printed somewhere on the router itself) and see if you recognize that network when looking for a connection.
Select Devices Won’t Connect
If some devices are connected to Wi-Fi but others aren’t, it could be a device issue. Turn off the offending device and turn it back on. You can also try turning the Wi-Fi off and on again in the settings of your device, just to be thorough.
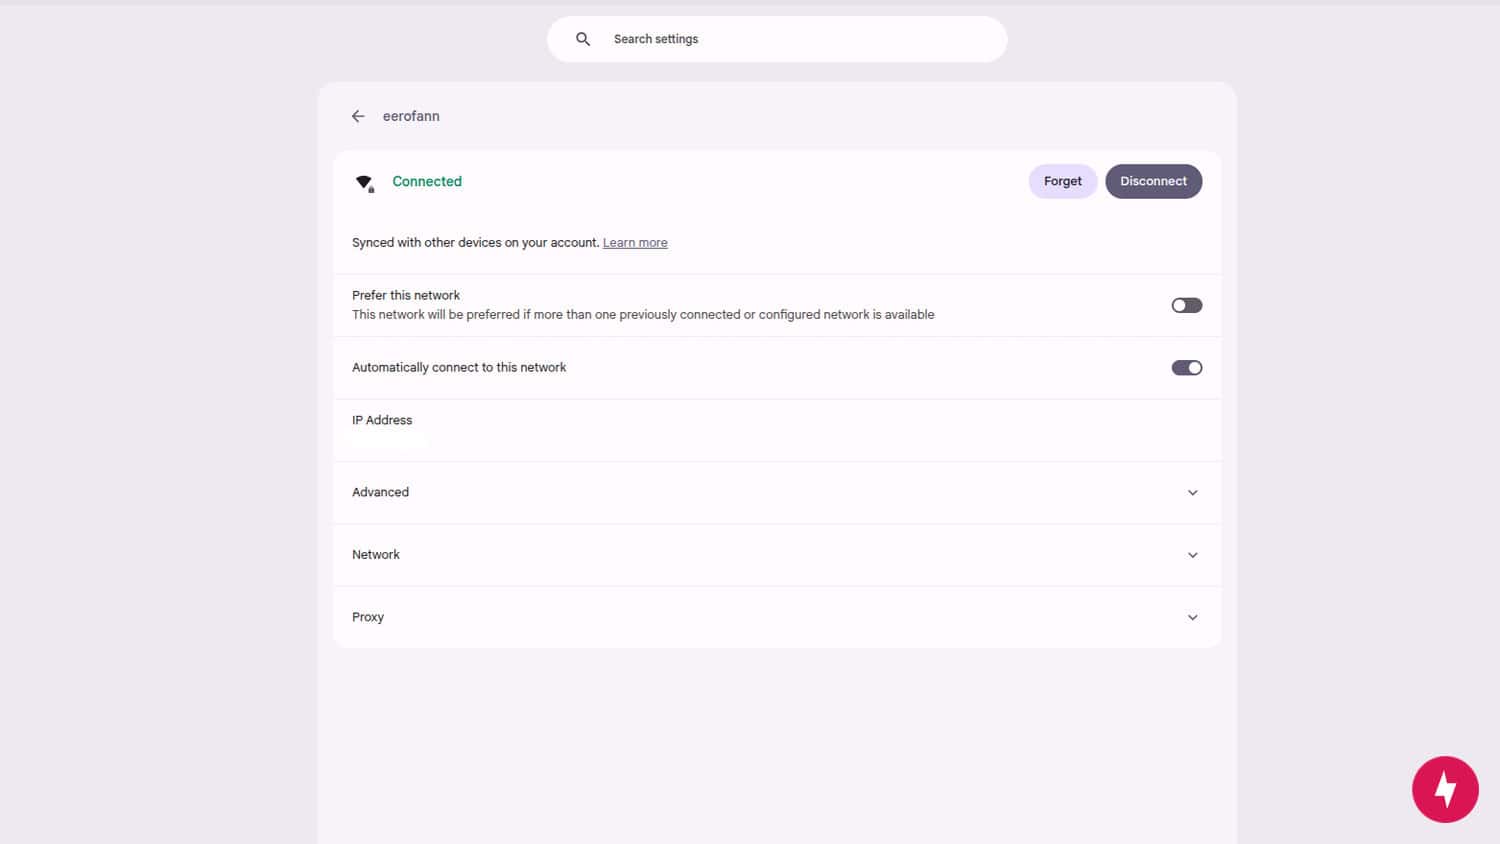
If this doesn’t help, you may need to delete your network from the device entirely. On an iOS or Android device, you can simply click on the network name and hit “Forget This Network.” This means you’ll have to find the network again and put the password in like you did the first time you set it up, but it should solve any remaining connection issues in the process.
Computer Keeps Disconnecting
If you consistently get booted from your Wi-Fi network, there are a few things that could be happening. We recommend looking for any patterns in the service disruptions. Do they only happen at a certain time of the evening? Maybe it even drops when you pop something into the microwave. Believe it or not, there are many signals from Bluetooth devices, baby monitors and smart lights constantly flowing through your home that can disrupt your internet connection.
If you’ve ruled out network interference using the tools listed above, you may need to try updating your router’s firmware. This is the device’s operating system, and like any other piece of software, it needs to be updated from time to time to keep functioning properly. Most routers perform this automatically, but it’s still worth checking to ensure yours is set up for automatic updates.
If you’ve updated your firmware and are still getting disconnections, you may need to consider replacing the router outright, especially if it’s more than a few years old. Routers are computers, and computers, unfortunately, tend to fail after a few years. If you’ve been renting a modem and router from your ISP, it might be better to invest in your own equipment since ISPs tend to rent out old hardware.
Weak or Non-Existent Smartphone Connection
If your phone won’t connect to the Wi-Fi, won’t download files, or load webpages, here are a few troubleshooting suggestions:
- Restart the phone. This step could be enough to resolve connection issues.
- Move the phone closer to your router to see if the Wi-Fi connection improves.
- Verify that the phone isn’t in airplane mode.
- Check for differences between Wi-Fi and mobile data to make sure Wi-Fi is the issue. For instance, if you turn Wi-Fi off on the phone and the internet functions normally using cell data, the problem is likely Wi-Fi.
- Restart the Wi-Fi router (wait at least 30 seconds to plug it back in after unplugging).
We also recommend checking for smartphone updates and trying again after these changes are made. If the above steps don’t work, you may need to contact your ISP. Here are a few more tips to try:
- Ensure you’re trying to connect to the right network. Your neighbors may have similar network names.
- “Forget” the network. Then find it again and try connecting to it.
- Change your Wi-Fi network password if the problem is password-related and persists despite you constantly typing the correct password on your smartphone.
- Reset the network settings in your phone’s settings. If that fails, try resetting all settings, which will erase your custom settings. Your content is safe, though, unless you choose to erase it, too. A factory data reset may also work, returning your phone to a state like you had never used it, but it erases everything.
- Check the MAC address filtering. Allow your phone to be connected, or switch the MAC address filtering off.
- Change your router’s channel setting (more common if you experience frequent smartphone Wi-Fi disconnects or out-of-range or weak Wi-Fi signals).
- Choose “Add network” or “Add Wi-Fi network” in the list of Wi-Fi networks if the one you want to hop on is hidden. It won’t show up in the list of available networks. Each piece of information you enter for the hidden network, such as the password and SSID, must match exactly, as it’s case-sensitive.
When to Contact Your Service Provider
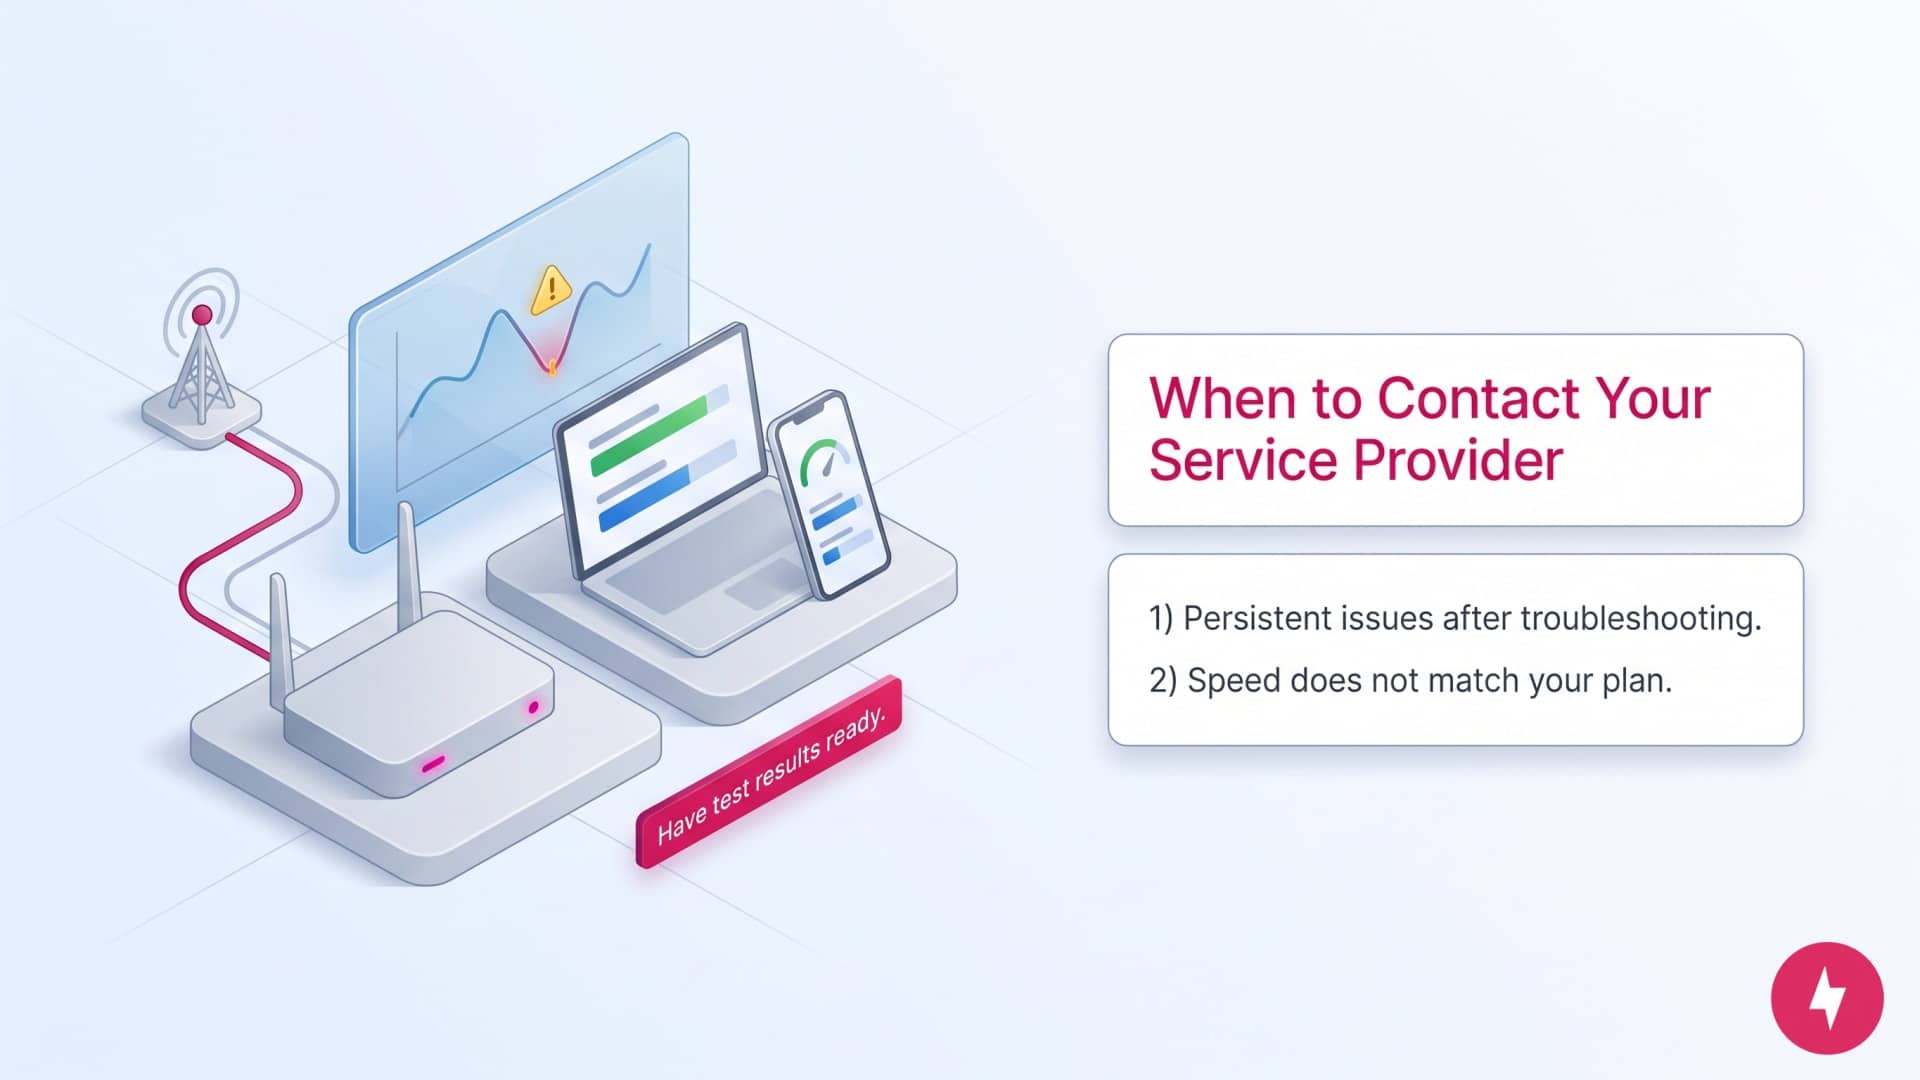
If you’ve exhausted your troubleshooting efforts and your Wi-Fi issues persist, it’s time to reach out to your internet service provider. Your ISP can check if your account has been flagged due to payment issues, or if you notice discrepancies between the speeds you’re paying for and the actual performance, even after trying to optimize your network. Document your troubleshooting steps and test results before contacting support. This will help the representative identify the issue more quickly and recommend an effective resolution.
Your ISP may be able to resolve issues with you over the phone, walking you through any steps. However, in some cases, they may need to send out a tech to sort out the issue directly. Depending on your provider, there may be a fee for this service.
Troubleshooting Your Wi-Fi with Confidence
Troubleshooting Wi-Fi often comes down to isolating whether the issue lies with a single device, your central network, or external interference. Whether you’re dealing with dropped connections on a single computer, a smartphone struggling for signal, or complete network dropouts, systematically walking through targeted fixes, from simple router reboots and credential checks to adjusting frequency bands and resetting network drivers, can resolve almost any wireless headache. Stay patient and work through these logical steps to quickly restore a fast, reliable internet connection across every device in your home or office.
Frequently Asked Questions about Troubleshooting Wi-Fi
How can I check to see if my Wi-Fi is working?
Check the Wi-Fi icon on your device to see if it’s connected. You can test it by opening a webpage or streaming content. If it doesn’t work, check the router for lights indicating connectivity. Ensure the router’s internet indicator is active. Testing on another device can help confirm whether it’s a Wi-Fi issue or specific to your device.
How can I test my Wi-Fi in my house?
Use an online speed testing tool to measure download and upload speeds. Perform the test from various locations in your house to identify weak signals or dead zones. Also, check for consistent latency and reliability by streaming videos or running downloads. Wi-Fi analyzer apps can also provide insights into network strength and interference. Consider testing at different times of day as well to understand performance fluctuations.
What’s the difference between rebooting vs. resetting my router?
Rebooting (or restarting) your router simply means turning it off and back on, which refreshes the connection and can resolve minor issues. Resetting your router erases all custom settings and restores factory defaults. After resetting, you’ll need to reconfigure your network, so only go this route to fix persistent issues or when instructed by tech support.
Will unplugging my router reset it?
Unplugging your router will not reset it. Disconnecting the power temporarily shuts it down, and plugging it back in restarts (reboots) the device while preserving all settings. To reset a router, you typically need to press and hold a specific reset button for a set amount of time, which restores factory settings.
What is the difference between a router and a modem?
A modem connects your home to the internet through your ISP, translating the signal for your devices. A router distributes this internet connection to multiple devices, either wirelessly or through Ethernet cables. Some devices combine both functions into a single unit for convenience while still serving distinct functions.
How do you tell if you need a new modem or router?
If your internet connection is slow, unreliable, or frequently drops, test using a direct connection to your modem. If issues persist, your modem or router may be outdated or faulty. Look for warning signs like inconsistent speeds, overheating, or poor Wi-Fi coverage. Upgrading may be necessary if your devices don’t support the latest technology, such as Wi-Fi 6 or gigabit speeds.
How do I know if the internet is out in my area?
Check your ISP’s website or mobile app for outage notifications. In some cases, your provider may alert you via push notifications or email of any outages. Online tools like DownDetector also provide real-time user reports on service disruptions. Social media platforms often have updates from service providers or local users. Contact your ISP’s customer support to confirm an outage and get an estimated resolution time.