How to Secure Your Home Wi-Fi Network
Implement these steps to protect your home network from cybercriminals.
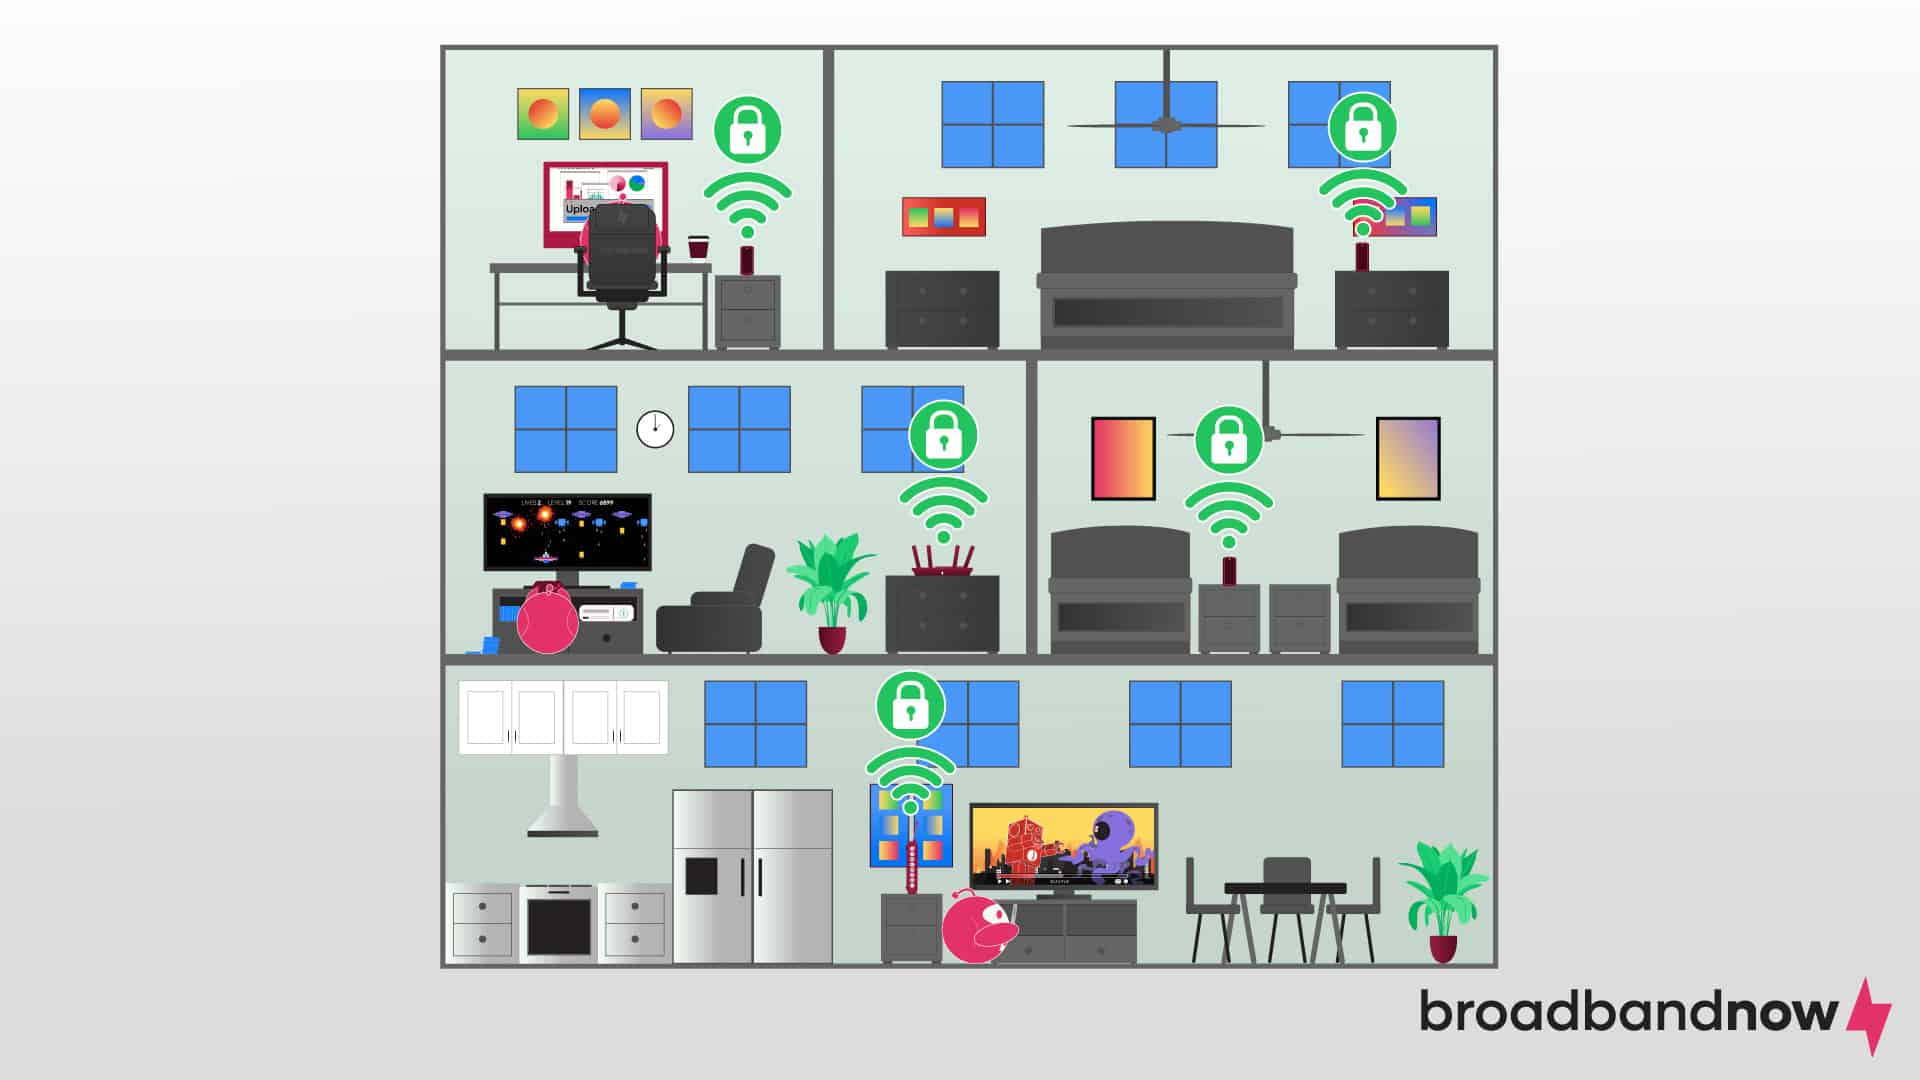
Securing your home Wi-Fi network sounds complicated, but a few simple steps can go a long way toward protecting your devices and personal information. Hackers can exploit vulnerabilities in your router’s default settings, especially if it’s running outdated firmware or lacks proper security features. Fortunately, you can significantly reduce the risk of cyberattacks with a secure broadband connection or by creating a private home network. These small yet crucial actions safeguard your home network and improve performance, ensuring a safer, faster internet experience.
Overview of Securing Your Home Wi-Fi Network
How to Establish a Secure Broadband Connection
Creating a secure broadband connection doesn’t have to take a lot of time or tech skills to set up. These simple tips can help you keep your connection secure and avoid risks to your network and personal information.
1. Change Your Wi-Fi Username and Password
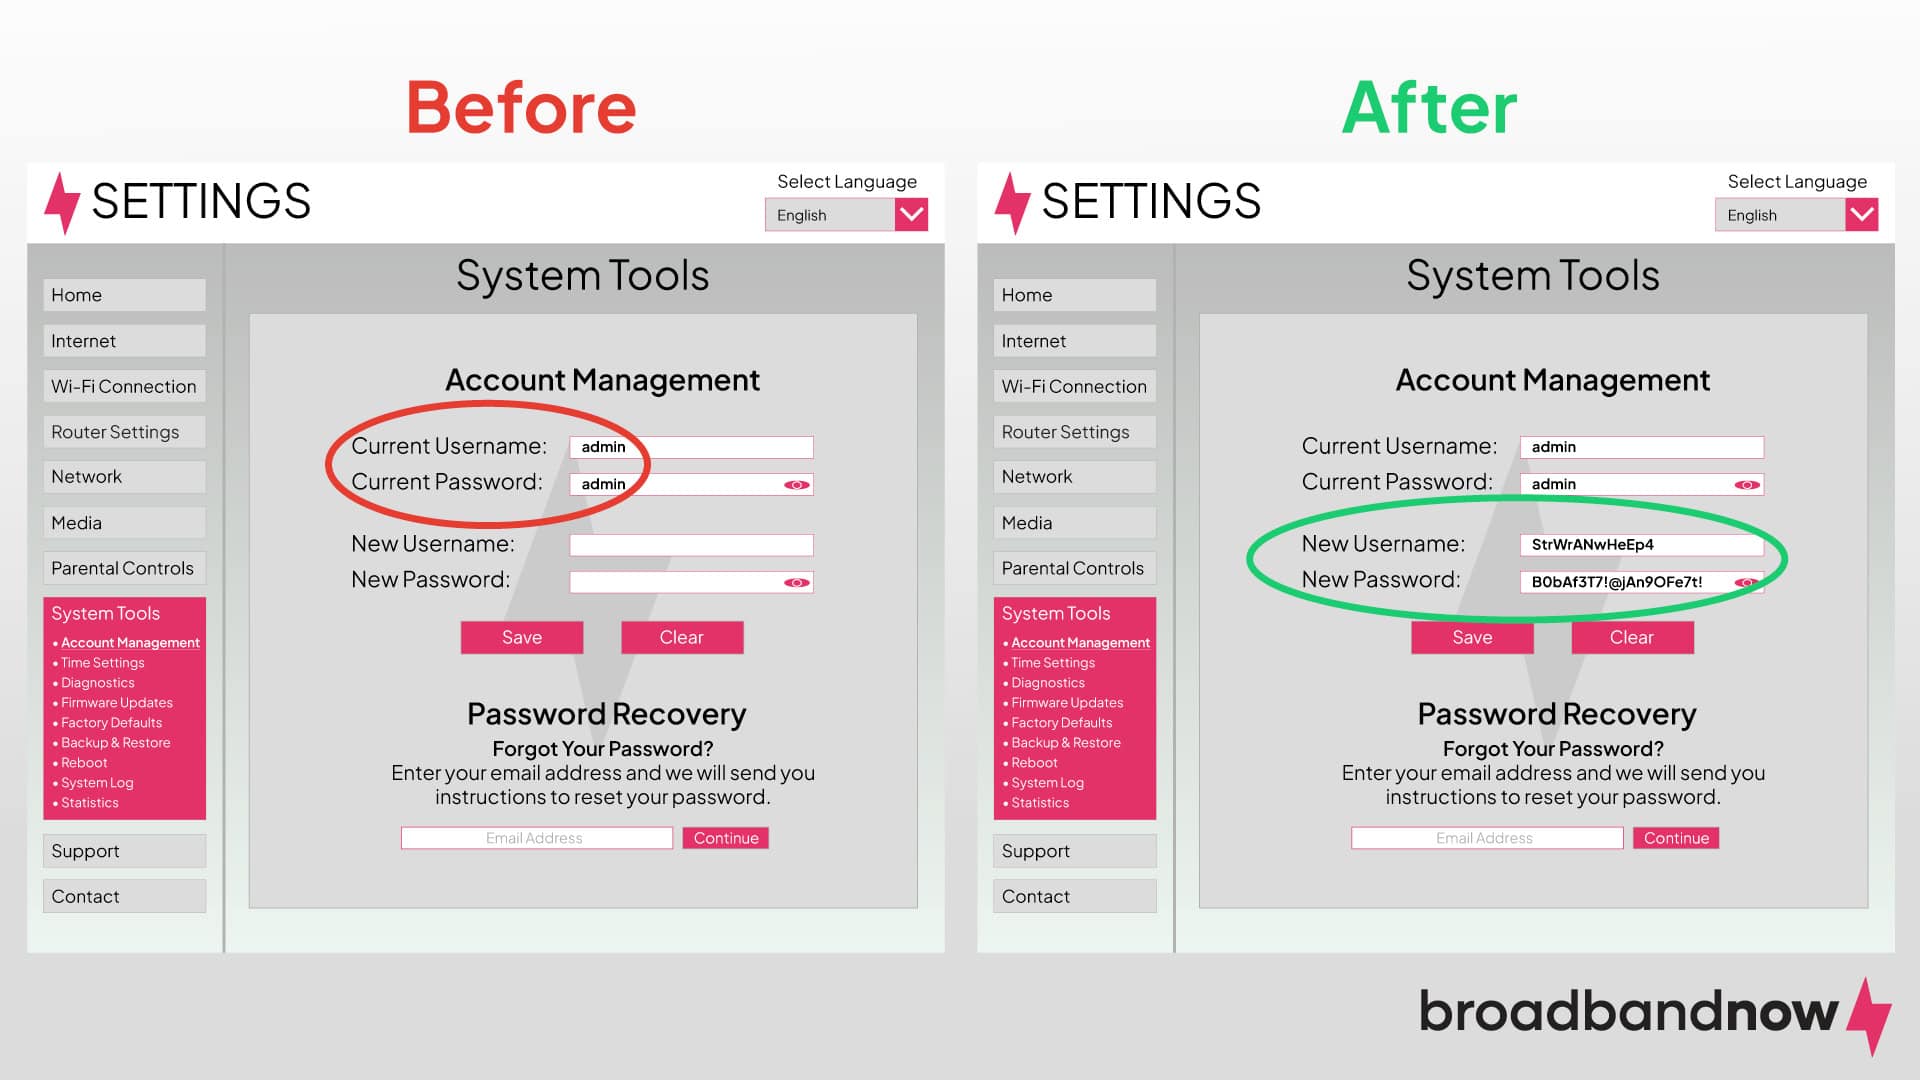
When setting up your home Wi-Fi network, one of the most important steps is to change the default Wi-Fi username and password. Many routers come with generic usernames like “admin” and preset passwords, which are widely known and easily exploitable. Leaving those default credentials in place exposes your network to potential intruders who can access your Wi-Fi without much effort. Changing your Wi-Fi credentials secures your network and gives you more control over who can access it.
For optimal security, choose a unique, nonidentifiable username and a strong password. Avoid using easy-to-guess information, such as common words or personal details. Instead, create a random sequence of numbers, letters (both upper and lowercase), and symbols to form a complex password. The more unpredictable it is, the harder it will be for hackers or even unauthorized family members to guess or crack your Wi-Fi credentials.
2. Change Your Router Username and Password

Similar to Wi-Fi credentials, routers come with a preset username and password, making them easy targets for hackers. Once you log in to your router’s admin panel, an attacker can change settings, monitor network traffic, and even lock you out of your own network. Changing the credentials immediately after setting up your router adds an essential layer of protection against such vulnerabilities.
To change your router username and password, access the router’s admin panel by typing its IP address into a web browser. The address is printed on the router itself or found in the user manual. If you don’t have the manual, you can usually access it online from the brand’s website.
Once you’re logged in using the default credentials, navigate to the user management settings. Choose a strong, unique username and a complex password that includes a mix of numbers, symbols, and upper- and lowercase letters. Avoid using easily guessed details such as your name or birthdate. The new credentials will make it much harder for anyone to gain unauthorized access to your router, ensuring your network settings remain secure.
3. Enable Wi-Fi Encryption
When setting up your router, you’ll be prompted to select a security type, with options such as WEP, WPA, and WPA2. Choosing the strongest form of encryption available prevents hackers from intercepting your data. WEP (wired equivalent privacy) is outdated and riddled with vulnerabilities, making it essentially useless. WPA (Wi-Fi protected access) is better, but WPA2 is currently the most widely used and secure standard for home networks.
If your router supports it, opt for WPA2 or, even better, WPA3, which offers enhanced security features and is becoming the new gold standard for Wi-Fi encryption. WPA3 is especially useful if you frequently allow guests to connect to your network, because it offers better protection against password-guessing attacks.
To change your encryption settings, log in to your router’s admin panel and navigate to the security settings. From there, select WPA2 or WPA3 if available, and ensure that your password is strong and unique.
4. Create a Guest Network
Establishing a guest Wi-Fi network is an effective way to keep your main network secure while providing internet access to visitors. A guest network operates separately from your primary network, which means users connected to it can access the internet but are restricted from accessing devices such as printers, shared folders, and smart-home devices on your main network. That’s especially important for safeguarding personal data and preventing any accidental or malicious access to sensitive information.
To set up a guest network, log in to your router’s admin panel and locate the guest network settings. From there, enable the guest network feature and choose a strong, unique password. Be sure to set the appropriate restrictions to limit access to your main network devices. That setup allows you to easily share internet access with guests while maintaining control over your personal network, keeping your data and devices secure.
5. Disable WPS
WPS (Wi-Fi protected setup) is designed to make connecting devices easier by allowing them to automatically connect to your Wi-Fi without needing a password. The feature is convenient, but it poses a significant security risk. Hackers can exploit WPS using tools like Reaver, which can crack the WPS PIN and gain access to your network in just a few hours — even without advanced skills. Because of that vulnerability, keeping WPS enabled exposes your network to potential attacks, especially from individuals within range of your router.
To disable WPS, log in to your router’s admin panel and navigate to the WPS settings, often found in the security or advanced settings section. Look for the option to disable WPS, and turn it off to eliminate the risk.
In addition to disabling WPS, you can further secure your network by enabling MAC address filtering. Every internet and Bluetooth device has a unique media access control (MAC) address. With MAC address filtering, you can control exactly which devices are allowed to connect to your network by manually inputting their MAC addresses into your router’s settings. That gives you clear oversight of all devices connected to your Wi-Fi, ensuring that no unknown devices can access your network. The downside, however, is the manual process of adding or removing devices each time you want to grant or revoke access, but it adds an extra layer of control and security.
6. Use a Firewall
Firewalls act as a barrier between your network and potential cyber threats by monitoring incoming and outgoing traffic and blocking unauthorized access while allowing legitimate connections. It helps prevent hackers, malware, and other malicious actors from infiltrating your devices or gaining control of your network. By filtering out harmful data and monitoring suspicious activity, a firewall adds an essential layer of protection to your home network.
To enable a firewall on your home network, start by accessing your router’s admin panel. Navigate to the security or firewall settings and ensure the firewall feature is enabled. Many routers come with a basic firewall turned on by default, but it’s important to verify its status and adjust settings as needed. Some routers may also allow you to configure advanced firewall rules to block specific types of traffic or restrict access to certain IP addresses, further strengthening your network’s security.
7. Use a VPN

Using a virtual private network (VPN) is an effective way to enhance the security of your home network by encrypting your internet connection and masking your IP address. A VPN creates a secure, encrypted tunnel between your devices and the internet, which prevents hackers, ISPs, and other third parties from intercepting your data. The added layer of privacy is especially useful when accessing sensitive information, such as banking or personal accounts, and it ensures that your online activity remains hidden from prying eyes.
To use a VPN on your home network, you can either install VPN software directly on individual devices (such as your computer, smartphone, or tablet) or configure the VPN at the router level to cover all devices connected to your network. Many modern routers support VPN configuration, allowing you to apply protection across your entire home network. To set up a VPN at the router level, log in to your router’s admin panel, find the VPN settings, and follow the instructions provided by your VPN service provider.
8. Keep Software Updated
Keeping your software updated is a vital step in securing your home network. That includes the devices you use, such as computers, smartphones, and tablets, and any connected devices, such as smart-home equipment and gaming consoles. Software updates contain critical security patches that fix vulnerabilities hackers may exploit to access your network. Regularly updating your software ensures your devices are equipped with the latest protections against malware, phishing, and other forms of cyberattacks. Most devices have automatic update options, which you should enable to keep your software current without needing to manually check for updates.
Firmware, a type of software code that controls your router’s core network functions, is equally important to keep updated. Router firmware needs periodic updates to improve security, stability, and performance. Many modern routers and gateways are designed to update firmware automatically, but updates may be less frequent and require manual intervention if you’re using equipment you own. To manually update your router’s firmware, check the manufacturer’s website regularly for new releases. If your router supports custom firmware, you can consider using third-party options such as DD-WRT, OpenWRT, or Tomato. They can provide advanced features such as real-time monitoring, device control, and enhanced security.
How to Create a Private Home Network
A truly private home network goes beyond just setting a strong Wi-Fi password or using a VPN. If you’re aiming for a setup that keeps your data locked down, you’ll want to take advantage of advanced router settings and features.
1. Set Up a Guest Wi-Fi Network
Many routers allow you to enable a guest network, which isolates visitors’ devices from your main network. The difference is important: guest Wi-Fi is designed for convenience, but your private SSID should be used only for secure, everyday connections.
2. Enable MAC Address Filtering
Every device has a unique Media Access Control (MAC) address. Enabling MAC filtering means you can whitelist only the devices you own. Even if someone has your Wi-Fi password, they won’t be able to access your network unless their device’s MAC address is approved.
3. Segment Traffic With VLANs
Virtual LANs (VLANs) allow you to separate types of traffic within your network. For example, you could keep smart home gadgets (which are more vulnerable to hacking) on one VLAN, and personal computers or work devices on another. This creates a barrier, so a compromised smart bulb won’t open the door to your sensitive files.
4. Use Parental Controls Strategically
Parental control tools aren’t just for young kids. They can also restrict certain sites, limit devices’ internet access during specific times and block suspicious content. In a private/local network setup, this adds another layer of control over what data flows through your home broadband connection.
5. Regularly Review and Update Security Settings
Periodically check your router’s logs, update firmware, and audit connected devices. A truly private network is one that’s actively maintained, not just set up once and forgotten.
Frequently Asked Questions About Securing Home Networks
What is the best security setting for a router?
The best security setting for a router is WPA3 encryption, because it offers the most advanced protection against cyber threats by encrypting your data with stronger algorithms and providing enhanced security for password-based authentication.
What is the strongest Wi-Fi security setting?
The strongest Wi-Fi security setting is WPA3, which offers the highest level of encryption and security currently available. It uses advanced encryption methods to protect data, provides better defenses against password-guessing attacks, and enhances security on public networks.
Can you detect if someone is accessing your wireless home network?
Yes, you can detect if someone is accessing your wireless home network by logging in to your router’s admin panel and reviewing the list of connected devices. Most routers provide a feature that displays all devices currently connected to your network, often showing their IP or MAC addresses.
What Wi-Fi router is most secure?
The most secure Wi-Fi routers are those that support WPA3 encryption, offer automatic firmware updates, and provide advanced security features such as built-in firewalls, intrusion detection, and device-management tools. Routers from reputable brands such as Asus, Netgear, and TP-Link often offer these features in their high-end models.
What’s the difference between private and public networks?
A private network is designed for trusted connections, such as your home Wi-Fi. Devices on the same private network can see and communicate with each other. Security settings are usually stricter, and you’re expected to use a password to keep outsiders out. A public network is open or semi-open, like Wi-Fi in a coffee shop, airport or library. Devices are typically hidden from one another to reduce risk, but it also means you shouldn’t trust the connection as much. Public networks are more vulnerable to hacking, so it’s smart to avoid sensitive activity (like banking) unless you’re using a VPN.